Section 1 - Git
G1.1 About Git
Git is a free version control system (VCS) that can be downloaded and run on your own computer as a stand-alone application. You can use it to track changes to your own projects, which would not necessarily involve any online activity (besides the original download). In this scenario, you would be using Git to organize and track changes you make to projects so that you could go back in time to see what a project looked like at some previous stage.
Another way Git can be used is through its networking options, which allow you to push and pull snapshots of your project to/from remote servers. When used in this way, Git gives you two additional benefits:
- Your work is now backed-up on a remote server in case your local files are somehow removed or destroyed.
- The remote server can be accessed by other members of a team which may be collaborating on the development, maintenance and debugging of the project.
In this scenario, a remote Git server (or remote repository), acts a little like a Dropbox account, except that it has the many tools needed for version tracking and collaborative development.
G1.2 The Console (or Terminal)
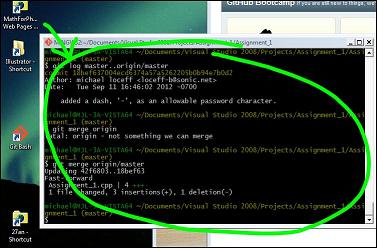
These days, the average person hardly ever sees a console -- those strange, often dark, rectangles of text used by programmers and sysadmins:
In fact, even we programmers often avoid them since we have tons of GUI-based IDEs like Eclipse and Visual Studio to help us get the job done. Yes, Git and GitHub have GUIs for every platform, too. However, we are not going to use a GUI in this short overview, because there are certain concepts that are easy to miss if you don't experience the original, console-flavored version of the Git tools. So if you are wondering whether the Git experience is always as texty as it will seem in the next three pages, the answer is "no, but be happy." This is good for you.
G1.3 Installing Git
Step 1: Get Git.
Whether you are developing on your own locally, or working remotely with or without a team, you will need to download the Git application on your system. One way to do that is by using this link, created and hosted by GitHub:
Install it using all the default choices. They are the safest for your computer and most compatible for collaboration.
Step 2: Open a Git Terminal Window and Confirm The Install
On a Mac
Launch your Terminal program (under Apps → Utilities, but you should add it to your Dock for easy access).

Once open, type "git" at the prompt:
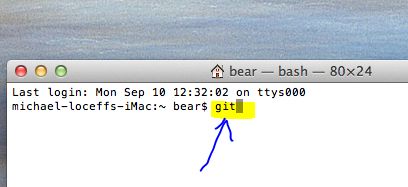
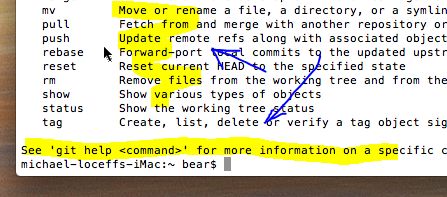
If correctly installed, you will see something like this:
You can close Terminal now that we have confirmed that Git was correctly installed.
On Windows
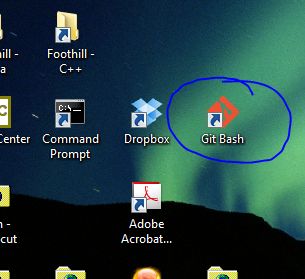
You should open Git Bash (which will be on your desktop if your followed my advice and accepted the defaults during installation).
If correctly installed, you will see something like this:
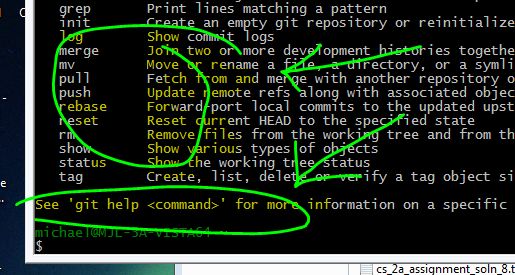
You can close Git Bash now that we have confirmed that Git was correctly installed.